Open Wisps and press New Wisp. Setup has a few short steps; you can change everything later in its settings.
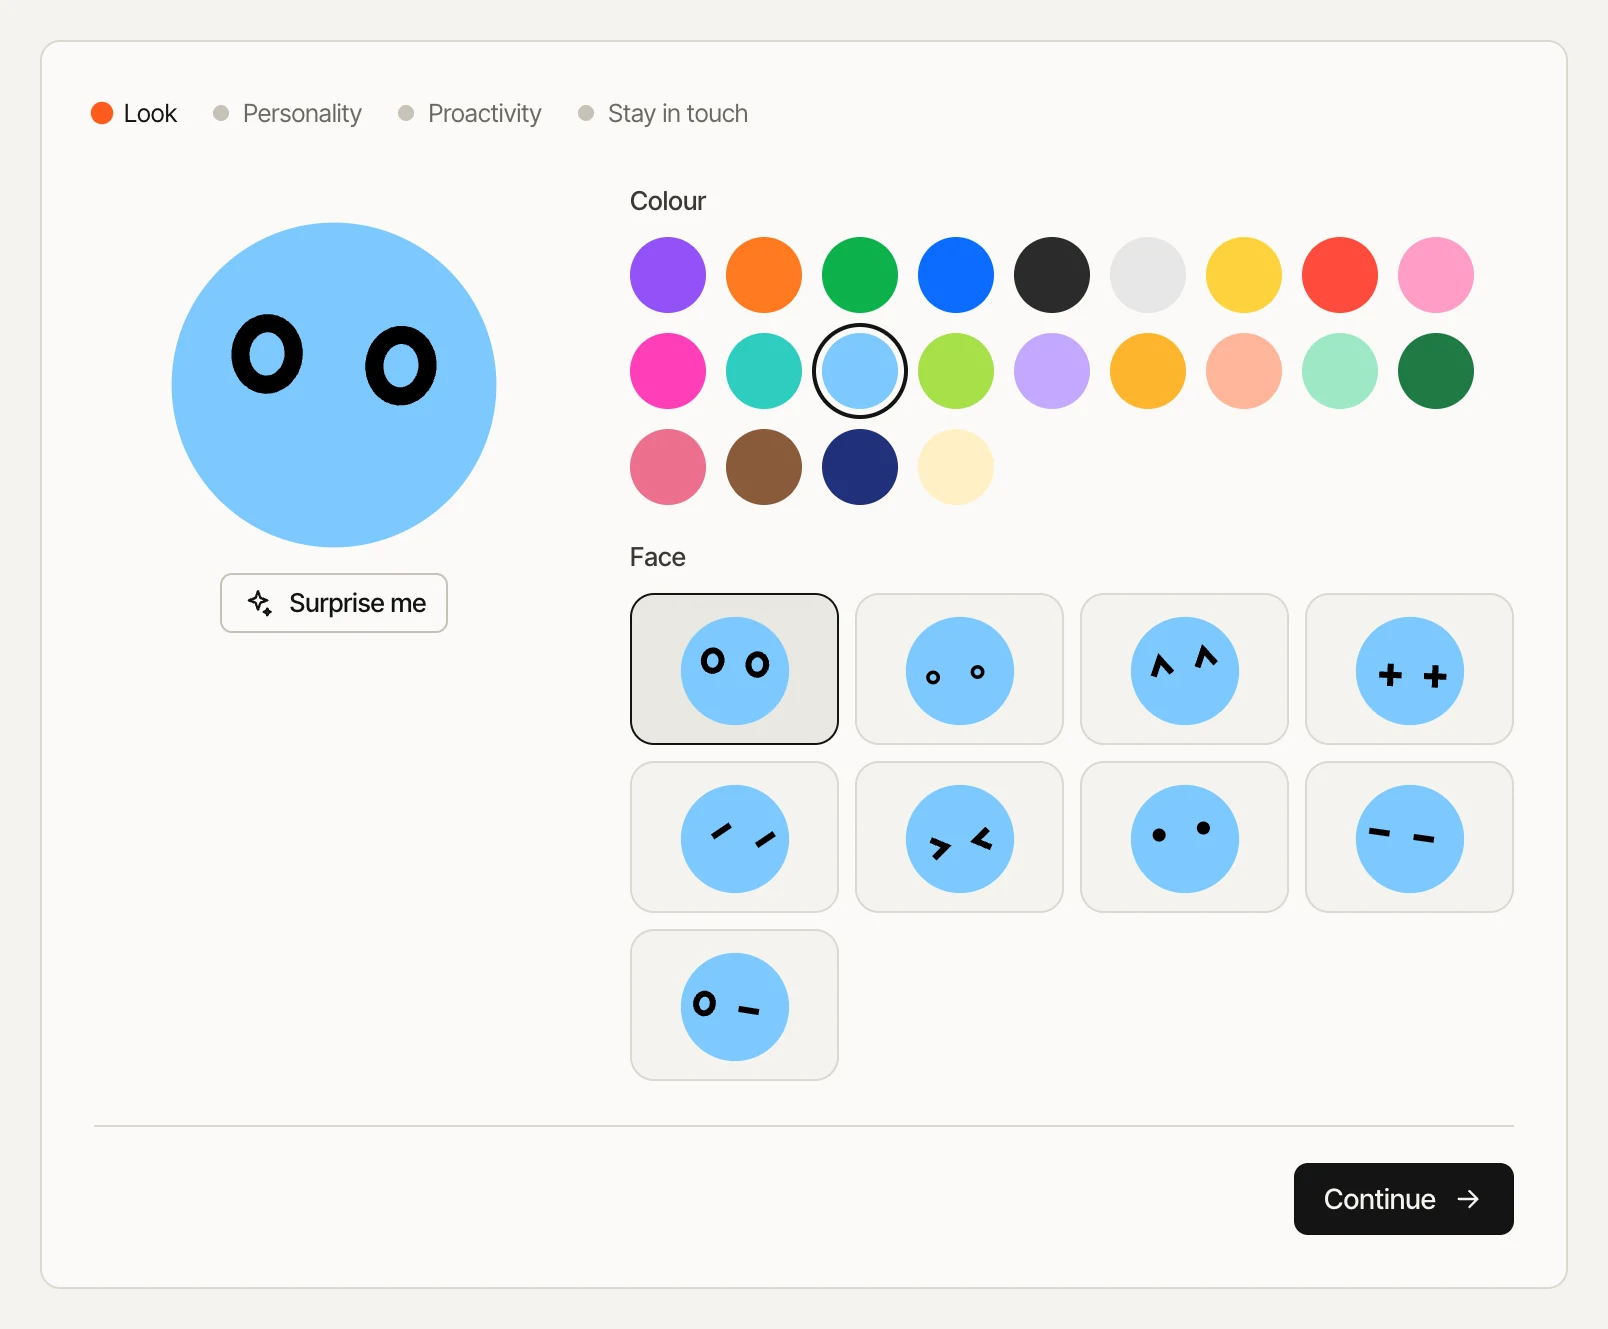
- Look. Choose a colour and a face.
- Personality. Give it a name (it becomes its email address, like
pebble@wisp.saauf.xyz), pick how it should sound and add anything it should know about you. - Proactivity. How often it checks in on its own, from “Only when asked” to “Always on”. The note under each choice says whether it fits in your free allowance at your current pace.
- Stay in touch. Turn on notifications so it can tell you when it needs your OK or finds something.
How many Wisps
The free plan has 1 Wisp. With a balance of €1.00 or more (Extended) you can have up to 5; below that, only your first Wisp keeps working until you add credit again. See Credit and free usage.
Starting from the home page or the Wisps page? The Make … button there carries that Wisp's colour, face and name into the form.